Delicate Napoleon cake with custard from childhood. Cake Napoleon with custard My signature dough for “Napoleon”
27/06/2015 09/09/2016
Napoleon Dough Without Gluten - 4 Recipes
Napoleon cake is one of the most beloved and popular. In our family, this is the most desired cake, which I bake only for Christmas and my birthday. I can only be eternally glad that blogging provides me with a constant reason to develop more and more new Napoleon recipes, both for different diets and for different samples of flour and flour mixtures. In this article I am pleased to present 4 different recipe dough for Napoleon cakes:
- My standard recipe for a mixture of rice flour and a universal flour mixture from the company OrgraN (OrgraN gluten free plain all purpose flour), which is widely sold all over the world and is available to all Russian-speaking readers outside Russia)
- Recipe using rice flour and a universal gluten-free flour mixture from the Russian company Garnets
- Recipe using my own mixture of rice and corn flour, adding tapioca without raising or thickening agents
- Recipe based on a mixture of flour produced by Garnets, excluding milk and butter, suitable for baking cakes for a diet without gluten and dairy products, which allows you to bake cakes for people free of lactose and casein
Note: The all-purpose gluten-free flour mixture from Garnets will be available in autumn 2015. I was provided with a test sample of the flour mixture.
Napoleon's recipe with recipes for flourless cakes and creams made from grains, pseudo-cereals, legumes, dairy products and sugar can be found.
In terms of their characteristics, the dough options prepared according to recipes 1, 2 and 4 are almost identical, both in taste and in hardness, dryness and the possibility of long-term storage in a tightly closed container. The dough from recipe 3 has almost the same taste, but does not have the same characteristics as the other 3 doughs when soaking the dough in cream. Recipe 3 dough absorbs more moisture, resulting in more soft cake, in which the cakes do not remain hard. This is not to say that this dough behaves like shortbread, but the cake turns out like a cross between Napoleon and a shortbread cake shortcrust pastry with layers of custard. This cake was a favorite in our family for many years before the Napoleonic era. I must say that all my life I have never taken on 2 things - yeast dough and Napoleon cake. I have never baked regular Napoleon myself with wheat flour, and only 7 years ago, I used my Riga friend’s recipe and adapted it in a gluten-free way. It worked on the first try, when I hadn’t weighed anything yet. The cake turned out to be so successful that it was the first recipe in my life that I wrote down.
Ingredients:
Recipe 1
- 270g all-purpose plain flour mixture OrgraN
- 1 egg
- 70g sugar
- 10g vanilla sugar
- 200ml milk, it is best to use full fat milk

Recipe 2
below is step by step process its preparations
- 150g whole grain rice flour Garnets
- 1 egg
- 100g unsalted butter
- 80g sugar
- 10g vanilla sugar
- 190-200ml milk
Note: To test all the characteristics of the dough, which I use not only for baking Napoleons, but also tubes and tarts, I prepared a half batch of dough, baked the dough into different products (shown in the photo below) and tested how the dough behaves using different creams. The rack displays all the baked goods using half the ingredients specified in the recipe.

Recipe 3
- 150g whole grain rice flour
- 120g corn flour (not cornstarch)
- 150g tapioca flour
- 1 egg
- 100g unsalted butter
- 80g sugar
- 10g vanilla sugar
- 100ml milk

Recipe 4
- 170g whole grain rice flour Garnets
- 270g Garnets all-purpose flour mixture
- 1 egg
- 100g pure pork fat (Lard)
- 80g sugar
- 10g vanilla sugar
- 200ml water

Preparation of the dough:
shows the process of preparing dough according to recipe 2
Step-by-step preparation with many photographs can be seen or.
- cut the butter into cubes approximately 1 cm in size and leave it for 20 minutes. in the freezer
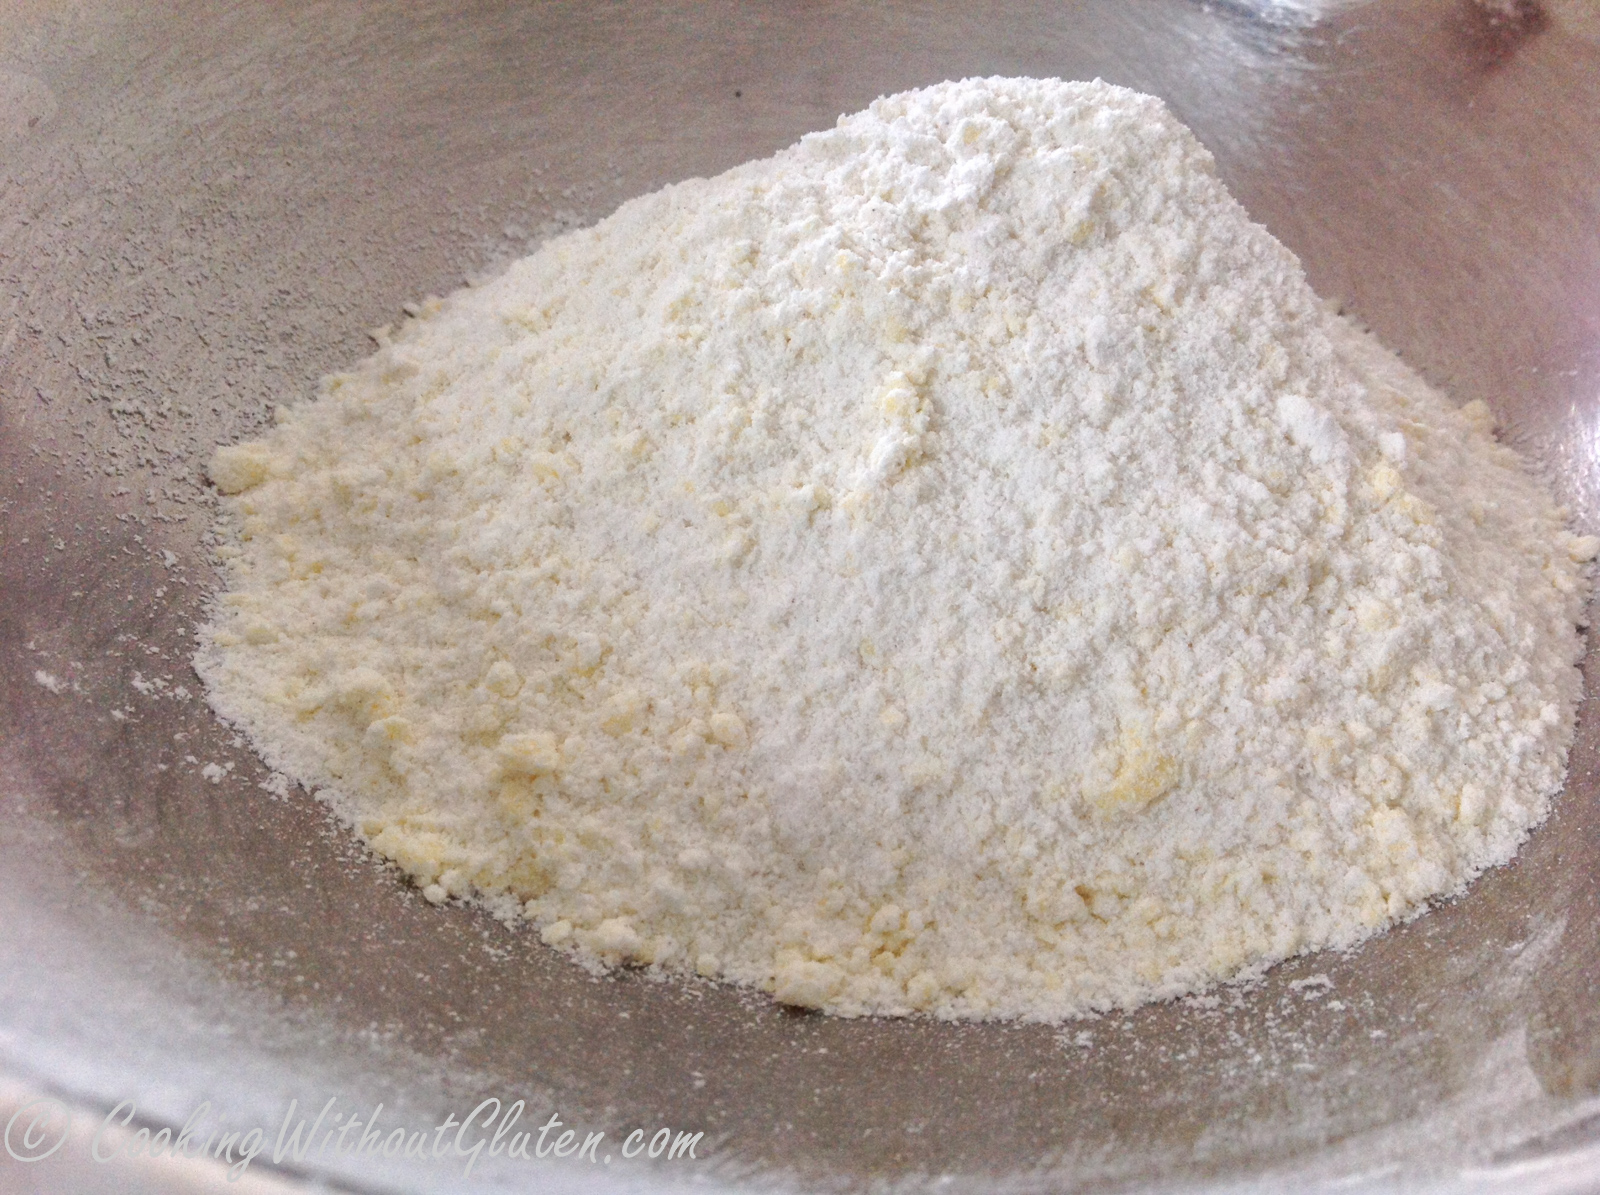
- sift and mix both types of flour
- place half the flour in a food processor, add sugar, vanilla sugar and gradually add cooled butter with processor running
- Mix all the flour in a wide bowl
- alternatively, without using a food processor, sift and mix all the flour and sugar, add chilled, but not frozen butter to it and finely chop it with a knife, constantly mixing with the flour
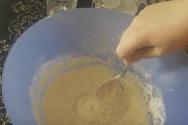
- lightly beat the egg and mix it with cold milk

- Make a well in the center of the flour mixture and pour in the milk and egg.
- Using a blunt knife, mix the contents until clumps of wet dough form.
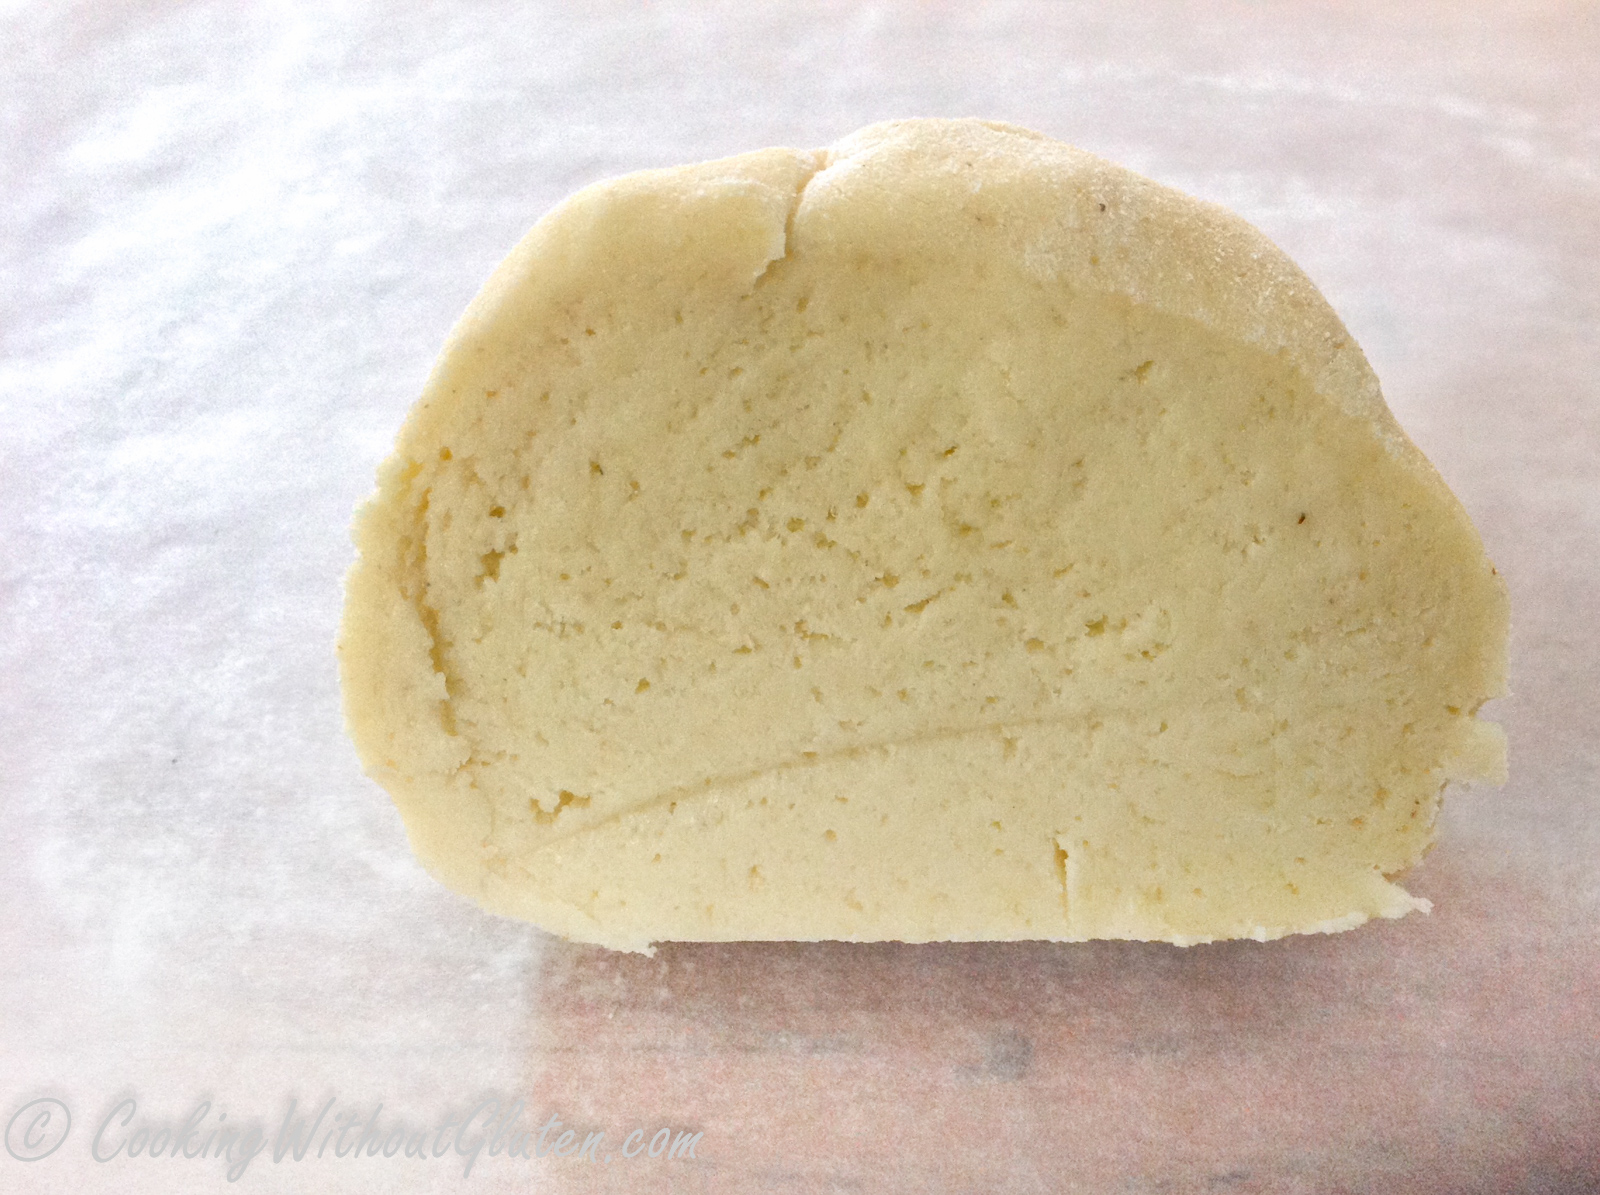
- bring the dough together

- Place dough on a lightly floured work surface
- knead the dough until smooth
- The dough can be used for baking immediately

- When baking Napoleon, divide the dough into 9 equal parts by weight
- form a flat disk of dough, roll it in tapioca flour and roll it out on parchment paper to a diameter of 11-12 cm, turn the dough over to the other side
- sprinkle with tapioca again and roll out to the desired thickness (the dough rolls out well into 9 thin cakes with a diameter of 25-26 cm), I usually immediately cut out a circle, and after baking I get the cake and baked scraps, which I use for dusting
- The process of rolling out the dough is shown in the photo gallery below using the example of dough according to recipe 1
- when baking others confectionery, I divide the dough into 3 or 4 parts
- From each part I form a flat disk, sprinkle it with tapioca flour, roll it out

- and cut out the sizes I need with molds

- I bake the dough in an oven heated to 170 degrees Celsius with a fan, 3 layers at a time on 3 levels until golden brown
- It’s very convenient to prepare 9 sheets of baking paper in advance, roll out all 9 cakes and just change the sheet with the baked cake on the baking sheet for a sheet with unbaked dough
- a feature of the dough according to recipe 4 is its pale color during baking; to give the baked cakes a more “tanned” look, I brushed the dough before baking with an egg beaten with 2 tablespoons of water (in the photo below you can see the difference in the color of the baked cakes)

Special notes on the effects of ingredient substitutions:
I would like to note that different types of milk can sometimes cause various unpleasant effects. This happened to me several times when replacing sugar with honey, and when using almond milk instead of regular milk. Gluten-free flour blends contain various additives, just like commercial almond milk. I can only assume that there are reactions between these compounds that cause the dough to liquefy over time. The most reliable is to use ultra-pasteurized milk (UltraHeated Milk), which is the purest commercial milk (only such milk contains kefir grains). I specifically mention the dough-thinning effect that I encountered when I began experimenting with sugar-free and dairy-free doughs. Here is a photo where you can see how the dough cracked when using honey and almond milk when baking strudel from this dough.

I have observed these effects several times and to be extra on the safe side, I never use salt in this dough recipe, I do not use almond milk, and therefore used just water in the recipe for dough 4 - no milk or casein. I suspect homemade almond milk can be used, but I haven't tested it. In light of all of the above, the use of the universal Garnets mixture as one of the components of the flour mixture, which does not contain any chemical additives in its composition, which contains different types flour and xanthan gum. I did not observe any adverse effects when working with the rice flour and all-purpose flour mixture in recipes 2 and 4. The dough in both cases turned out wonderful and was distinguished by an even more pronounced “puff” effect compared to mine regular recipe 1.

Recipes for various creams, both for Napoleon and for cakes made from the same dough, can be found. Special articles on baking and piping


I have a friend who, every time she comes to visit us, licks her lips with a sigh, looking at homemade cakes, but...diet...I want to add this recipe to my arsenal just for such cases. “According to Dukan” is the name of the diet.
I quote the author from the site www.diets. For those who really stick to a diet, I recommend reading the comments, the girls there are experienced in these things. And they give a recipe for homemade baking powder, and others useful tips. For example, someone adds the same baking powder to the dough described below. So:
«
Cake without bran!
For any day with ALTERNATING!
Additional supplements for 2 days, be careful!
Ingredients:
For the cakes:
3 eggs
2 tbsp. corn starch
sugar to taste
aromatic “Biscuit” if available or vanillin on the tip of a knife
For cream:
300 ml skim milk
3 yolks
3 tbsp. SOM (skimmed milk powder)
1 tbsp. chocolate pudding without sugar or 1 tsp. low fat cocoa
sweetener
The cake is quick and doesn’t require much effort!
Let's start with the cakes
Mix all the ingredients so that there are no lumps. Just MIX, do not beat!
Bake pancakes in a dry frying pan. This amount of dough makes 7-8 pancakes.

Now we need to dry our pancakes. We do this either in the oven or in the microwave.
I put it on the oven rack and hold it for about 5 minutes at 180 C. The result should be DRY cakes.

While the cakes are cooling, let's make the cream.
Mix all the ingredients thoroughly so that there are no lumps. Place on low heat and cook until thick, stirring constantly.
P.S. instead of chocolate pudding, you can use cream pudding, it’s even more correct, but I liked it better with chocolate

Without letting the cream cool, we begin to assemble the cake. To do this, simply coat all the cakes and press them well together, but carefully so that the cakes do not break.

You can decorate the top with fragments of cake layers, but I don’t have any left.
Now put it in the refrigerator for a couple of hours for soaking and you can enjoy it! «


Hi all. Today I will share with you the recipe for the legendary Napoleon cake. I think many people associate this dessert with childhood, and also with the New Year. Because, most often, it was on this holiday that our mothers and grandmothers spoiled us with this masterpiece.
There are two camps of people who are divided according to the type of finished product into the “wet” version and the “dry” version, or, more precisely, into the soaked and crispy version. I prefer the “wet” version of Napoleon. With a lot of . Recently I began to prepare a lighter version of the cream -. Besides these classic options You can cook it with or with it, it’s incredibly delicious. With these creams the cake just melts in your mouth.
Well, if you like to “crunch”, then simply replace the custard with butter cream, and you will be happy. For example, or
In general, what is Napoleon cake? This is a puff pastry product. I'll tell you in detail how to prepare this very thing. puff pastry at home. Of course, you can buy a ready-made version puff pastry. But, as you understand, the taste will be completely different.
I won’t write about making custard here, I’m just giving links to two creams, the choice is yours - and... Well, for those who like to crunch - .
So, how to make Napoleon cake at home. By the way, I would like to note that the weight of the cake according to my recipe is 2-2.5 kg, if you want a smaller size, feel free to halve the ingredients.
Napoleon cake recipe step by step with photos.
Ingredients:
- 450 gr. flour
- 250 gr. butter 82.5%
- 1 egg
- 150 ml. ice water
- 1 tbsp. l. vinegar 6% (I use white wine)
- 1 tsp. salt (no slide)
Preparation:
Place the butter and a glass of water in the freezer for about 30 minutes. I usually put the butter in the freezer in the evening, and start preparing it in the morning.
Sift flour into a bowl.

We rub our well-chilled butter there on a coarse grater, constantly mixing the butter with flour.

Quickly rub the grated butter with flour with your hands, spending no more than 2-3 minutes on this.

Add egg, salt and vinegar to chilled water.

Mix with a fork. Vinegar can be anything, but not more than 6%. In my case it's white wine.

Pour this liquid into the oil-flour mixture and collect the dough into a ball. There is no need to knead the dough for a long time until smooth. It ideally comes out with large pieces of unmelted butter.

We divide our dough into 13-15 parts. This time my diameter was 19 cm. I got 15 cakes, before that the diameter was 22 cm. I got 12-13 cakes. Place the dough in a container sprinkled with flour, either in the refrigerator for 3-4 hours, or in freezer for an hour.

During this time we will prepare the cream. I have recipes on my website for two types of cream that are ideal for layering this cake. and its light version - . You can choose the cream at your discretion. In these articles, the quantities of ingredients are calculated specifically for this recipe.
After our dough has cooled, we begin rolling out. If the dough was in the freezer, then transfer it to the refrigerator. Each time we take the balls out of the refrigerator one at a time, do not remove the rest of the dough so that it does not melt prematurely.
I used my miracle purchase - a silicone mat, it has markings with different diameters. In one of the articles I already told you about its advantages, then I was preparing.
Here is my silicone mat. If you haven’t found one in your city, you can order it at the Bakerstore using this link - Silicone mat.

If you don’t have this device, then I suggest rolling out the dough on parchment, where you draw a circle of the diameter you need in advance (just don’t forget to turn the parchment over to the other side before rolling, so as not to eat the dough with pencil particles later). So, you will at least roughly understand what to strive for.
The dough should be rolled out as thin as possible, constantly sprinkling the rolling pin with flour. Of the specified number of cakes, the thickness will be just minimal. It is necessary to roll out the dough a little larger than the outlined circle. Firstly, the dough will shrink during baking, and secondly, we will use the scraps to make the finishing coating of our cake.

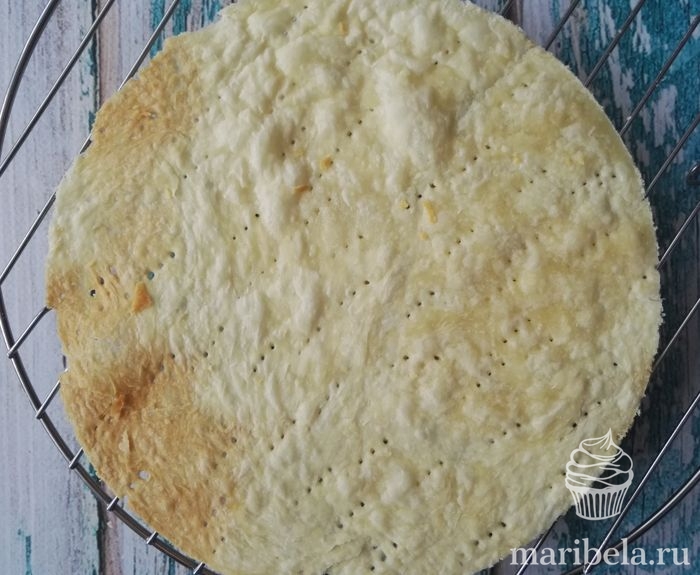
After you have rolled out the dough, you need to prick it with a fork. This will prevent the cake from rising too much during baking.

I baked the cakes directly on a mat; if you don’t have one, then transfer the rolled out cakes to a baking sheet covered with parchment and bake at 200° for 5-7 minutes until golden brown. Try to fit 2 cakes on the baking sheet at once, this will significantly reduce the baking time.

As soon as the cake is ready, you need to cut it off immediately! This is a very important point, since the cakes from the oven are still pliable, but as they cool, they become brittle and will simply crumble. We cut it in the same way, focusing on the saucer, carefully with a knife. And it’s even easier to cut using a lid, you just need to turn it left and right half a turn, and you don’t need any knife, and the circle turns out perfect. Unfortunately, I didn’t have a lid of the diameter I needed, so I used a plate.

Transfer the cut crust to a wire rack and let it cool.
We do this with each cake.
During baking, our cream will just cool down and be ready for use.
Assembling the cake.
Place a couple of spoons of cream on the dish so that the cake does not slip.

Place the cake on top.

Lubricate it with cream. Don’t skimp on the cream, my recipe yields a sufficient amount (you can easily take 2-3 tablespoons). We do this with all the cakes. If you wish, you can put some filling in the layer; my mother always puts walnuts, you can add jam or curd, boiled condensed milk. This time I coated every 3 cake layers; I just had a jar left over after cooking. Or you don’t have to add anything, our dessert already tastes great.

After we have assembled the entire cake, we press it down a little with our hands on top and put it in the refrigerator for a couple of hours. During this time, the cakes will be slightly saturated with cream and the cake will settle. You can place a weight on top of the cakes for about 30 minutes, so the cakes will become even softer.


Place the cake in the refrigerator for half an hour to allow the cream to set.

At this time, we place our cake trimmings in a blender and grind them. I don’t like to chop it into tiny crumbs, I think it’s more suitable for. But you can choose a different size for yourself. By the way, you can grind it simply by hand or using a rolling pin if you don’t have a blender in use.

Sprinkle these scraps over our cake.

Place in the refrigerator to soak. Best at night. You can decorate the top with berries, or you can not decorate it and leave it like that.

This is how handsome he turns out. A large number of layers and cream make this cake a truly royal dessert. I borrowed the recipe for this cake from Victoria Melnik, for which I thank her very much.
And, following such a delicate and feminine cake, I will soon tell you the recipe for a real masculine, brutal beauty - cake on dark beer, chocolate cream and ganache... And all this splendor of taste will be collected in. Your men should appreciate it. Do not miss!
Enjoy your meal.
- For the cakes:
- Eggs - 3 pcs.
- Sugar - 200 g.
- Cottage cheese - 250 g.
- Flour - 350 g.
- Salt - a pinch.
- Soda, quenched with vinegar - 1 teaspoon
- For cream:
- Milk - 1 liter.
- Eggs - 4 pcs.
- Sugar - 200 g.
- Flour - 3 tbsp. (preferably corn).
- Butter - 400 g.
- Soft cottage cheese - 200 g.
Cooking method
- Step 1 Beat eggs with sugar until a strong foam forms. To make the foam better, add a pinch of salt.
- Step 2 Rub the cottage cheese through a sieve or grind in a blender into a homogeneous mass.
- Step 3 Add cottage cheese to the beaten eggs and beat everything again.
- Step 4 Add soda, quenched with vinegar and wheat flour, knead the dough. The dough should be soft, but not spread out.
- Step 5 Divide the dough into pieces according to the number of cakes and place in the refrigerator for 30 minutes to cool. If your mold has a diameter of 22 cm, then you will be able to make 7-8 cakes from this amount. If you want Napoleon to be as big as in the photo, double all the ingredients.
- Step 6 Bake the cakes at a temperature of 180-200° C until golden brown.
- Step 7 Cream: Bring milk to a boil. Mix sugar, flour and eggs in a separate bowl until there are no lumps. Gradually add the resulting homogeneous mixture to boiling milk and cook with stirring for 5-10 minutes until thickened. Cool.
- Step 8 Beat the curd mass with butter and gradually add the cooled custard cream.
- Step 9 Spread the cakes with cream. Sprinkle the top and sides of the cake with crumbs made from 1-2 cake layers.
I found a recipe for dietary Napoleon on an English-language website. Ugh! What ingredients! For example, gluten-free flour. What is this? Gluten is, strictly speaking, gluten. There is a very rare disease - gluten intolerance. It is rare, but a latent course of the disease is suspected in every third person.
So which flour is gluten-free? Rice flour is not the healthiest, but it is the most common. The baked goods are a bit dry. Rice bran is much healthier, but does not last long. Potato starch Gluten free, but not very healthy. Potato flour adds flavor to any dish mashed potatoes. Tapioca flour is healthy and stores well, but where can you get it? Corn flour both tasty and healthy. They cook a lot of it and enjoy it in the North Caucasus. Buckwheat flour is very healthy, but it is bitter. It's good to mix it with rice flour. Oat flour It can also be gluten-free if it is made on equipment that did not grind gluten-containing grains. There is also millet flour, coconut flour, sorghum flour, nut flour, amaranth flour, chickpea flour and lentil flour. Their darkness, and darkness, and darkness. And new ones appear all the time.
Xanthan or xanthan gum also has the symbol E415. This is a natural food supplement. The most expensive, but also the best gluten substitute. It is an excellent thickener.
Number of servings: 8Calories: High calorie
Calories per serving: 680 kcal
To prepare dietary Napoleon, you will need:
gluten free flour – 10 tbsp. (I mixed half and half rice and buckwheat flour)
baking powder – ½ tsp.
vanilla extract – 1 ½ tsp.
cocoa powder -1 tbsp.
salt – 1/8 tsp.
egg – 1 pc.
unsalted butter – 4 tbsp.
sugar – 1 tbsp.
mascarpone cheese – ¾ tbsp.
heavy cream – 2 tbsp.
xanthan – ½ tsp.
lecithin – ½ tsp.
citrus oil – 1 tbsp.
ground cardamom – ½ tsp.
powdered sugar from unrefined cane sugar– ¼ tbsp.
powdered sugar – 1 tbsp.
dark chocolate chips – ¼ tbsp.
How to prepare dietary Napoleon.
1. Preheat the oven to 180°C.
2. Beat the egg with half a glass of sugar until light in color. Add 2 tsp. vanilla extract.
3. In another bowl, combine flour, baking powder, salt and cocoa. Mix them.
4. Combine the egg mixture, dry ingredients and melted butter.
5. Grease the baking sheet vegetable oil or cover with a silicone mat. Spread the dough into a thin layer.
6. Bake for 10 minutes. until golden brown. Cool slightly. Cut into equal rectangles with a sharp knife.
7. Mix lecithin, citrus oil and xanthan gum thoroughly.
8. Mash the mascarpone, add lecithin mixture, cardamom and vanillin. Stir well.
9. Whip the cream with powdered sugar until soft peaks form. Fold whipped cream into cheese mixture. Do not add the entire mixture at once. Stir carefully.
10. Fill a piping syringe or food bag with melted chocolate. Cut a hole in it and you will squeeze the cream through it.
11. Mix powdered sugar from unrefined cane sugar with 2 tsp. water and add a little vanillin.
12. Distribute the number of rectangles equally among each cake. Place whipped cream on bottom rectangles. Connect them to each other by pressing lightly. Apply glaze to the top ones using a spatula. powdered sugar with vanilla. Now it's the turn of chocolate drawings. Pipe the chocolate and use a toothpick to help the piping bag create patterns.